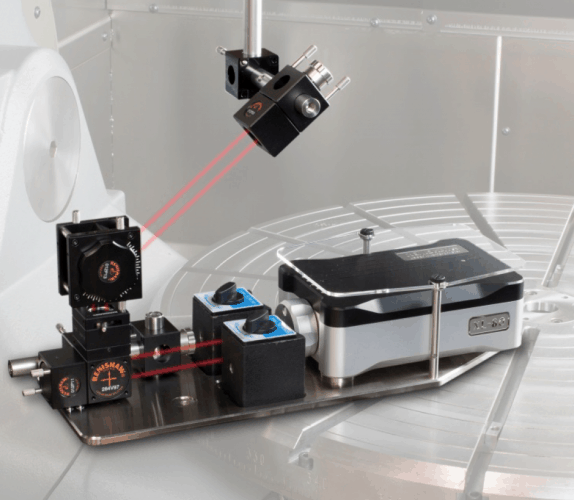
The introduction of B5.54 and ISO 230-6 machine tool performance measurement standards has increased the popularity of laser interferometer diagonal, step diagonal and vector methods for the evaluation and compensation of machine tool errors. This is due to the potential reduction in test times these methods can provide compared with the more conventional laser interferometer based linear, angle and straightness measurements, taken along lines parallel to the machine’s X, Y and Z axes.
In 2003 Renishaw wrote a technical paper entitled Limitations of laser diagonal measurements that was published in the Journal of Precision Engineering. The paper highlighted the limitations in the results produced by the laser diagonal, vector and step diagonal methods available at that time. This allowed users of these methods to make informed decisions as to whether the reduction in test time they can provide outweighed the loss of accuracy and detail in the results. It also indicated some of the dangers of using laser diagonal data alone for the compensation of machine tool errors.


Water Sector Talent Exodus Could Cripple The Sector
My local water company is Severn Trent which has a market capitalisation of £8.2 billion, made a pre-tax profit of £200 million in 2024 and is paying...