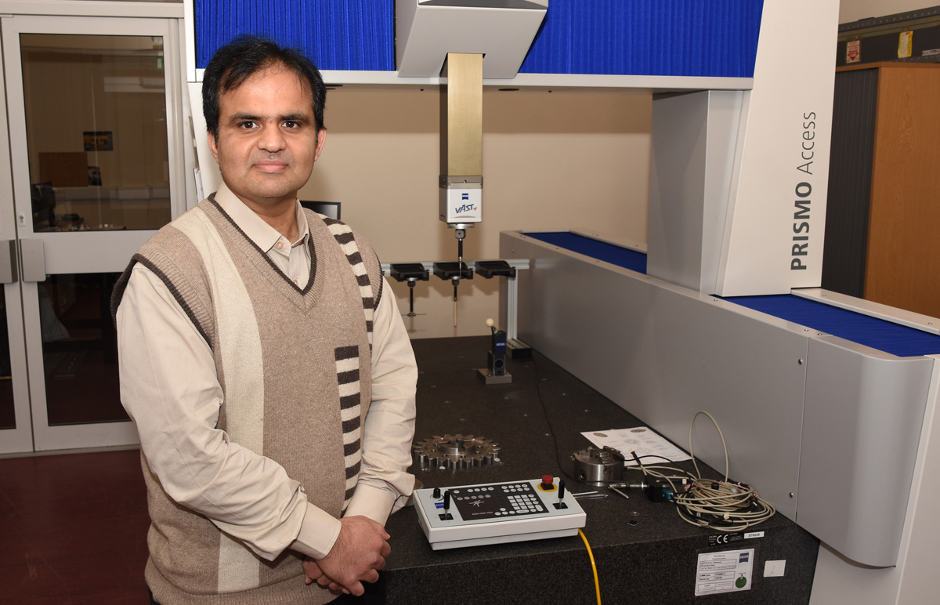
When a component is manufactured, it typically leaves the CNC machine at an elevated temperature, and must be cooled before it can be precisely measured in a Coordinate Measuring Machine (CMM).
But since engineers have no way of knowing precisely when the part will drop to the desired temperature of 20oC, they typically play it safe and wait for 8-24 hours before checking it in the CMM, according to Dr Naeem Mian at the University of Huddersfield.
This creates a log jam in production, and means expensive CMMs are left standing idle.
Now Mian and his colleagues have found that this wait time could be slashed, potentially to just a few minutes. Their research is expected to give engineering firms a technique for calculating how long it takes for a component’s temperature to be stabilised so that it can safely be measured by a CMM.
The researchers carried out a series of experiments to determine the Thermal Contact Conductance (TCC) values of different components, or their ability to conduct heat to a surface, in a bid to calculate how long it takes for their temperature to stabilise. He then used Finite Element Analysis (FEA) to validate his findings.

When experimenting with a heated venturi, a component used in the oil and gas industry, for example, he found it could cool enough to be placed in a CMM in a matter of minutes.
“We heated up the venturi to around 33oC, while its base was around 40oC,” said Mian. “But instead of leaving it for an eight-hour shift pattern, or even up to 24 hours, we conducted our research and found that we can actually commence measurement after just six or seven minutes,” he said.
Mian also carried out experiments on a heated aluminium plate placed on a granite block embedded with sensors. Granite is the material used for the test bed in CMMs.
The findings, unveiled in a paper in the journal Measurement, could significantly reduce manufacturing downtime and allow engineers to better manage their resources, Mian said.
“Let’s say you have a batch of measurements to carry out, and you’re waiting for a long time,” he said. “In this case the machine is still engaged, so you cannot do anything else, but with our technique you can take your machine, utilise it properly and then free it up for other work.”


Nanogenerator consumes CO2 to generate electricity
Nice to see my my views being backed up by no less a figure than Sabine Hossenfelder https://youtu.be/QoJzs4fA4fo